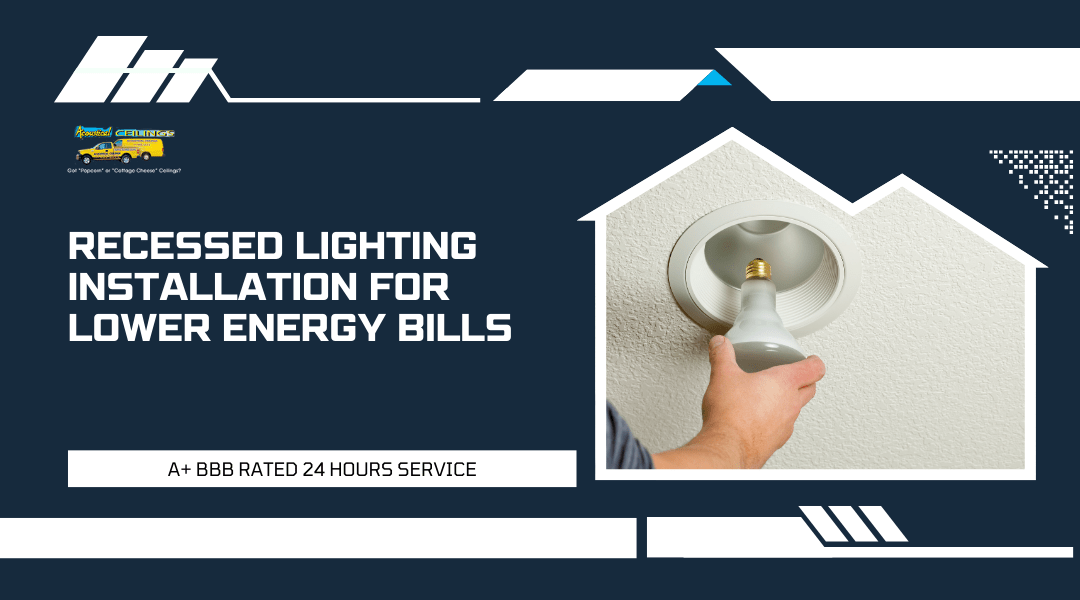
Installing energy-efficient recessed can lighting can greatly enhance the look and functionality of your home. With the right techniques, you can achieve a modern lighting solution that not only saves you money on energy bills but also adds a stylish touch to any room. This step-by-step guide will help you through the installation process, making it accessible even if you have little experience with home improvement projects.
As a trusted drywall contractor in Rancho Cucamonga, Acoustical Ceilings understands the importance of quality lighting in creating an inviting atmosphere. Properly installed recessed can lighting can transform the feel of your spaces, offering both brightness and elegance. You will learn how to select the right fixtures, plan your installation layout, and execute the project with precision to ensure safety and efficiency.
Whether you’re looking to update your existing lighting or designing a new layout, our expert tips will prepare you to make informed decisions. Dive into our guide and discover how easy it can be to enhance your home with energy-efficient recessed can lighting.
Why Choose Energy-Efficient Recessed Can Lighting?
Choosing energy-efficient recessed can lighting offers numerous advantages for your home. From reduced energy costs to a smaller carbon footprint, these fixtures provide practical benefits that enhance your living space without compromising style.
The Benefits of Going Energy-Efficient
Energy-efficient recessed lighting, particularly LED options, uses significantly less electricity compared to traditional incandescent bulbs. LEDs can use up to 75% less energy, making them a smart choice for your budget.
These fixtures also have a longer lifespan, lasting up to 25,000 hours or more. This means fewer bulb replacements and less waste in landfills. Additionally, many energy-efficient options are designed for better heat management, reducing the risk of overheating and increasing safety in your home.
Cost Savings and Long-Term Value
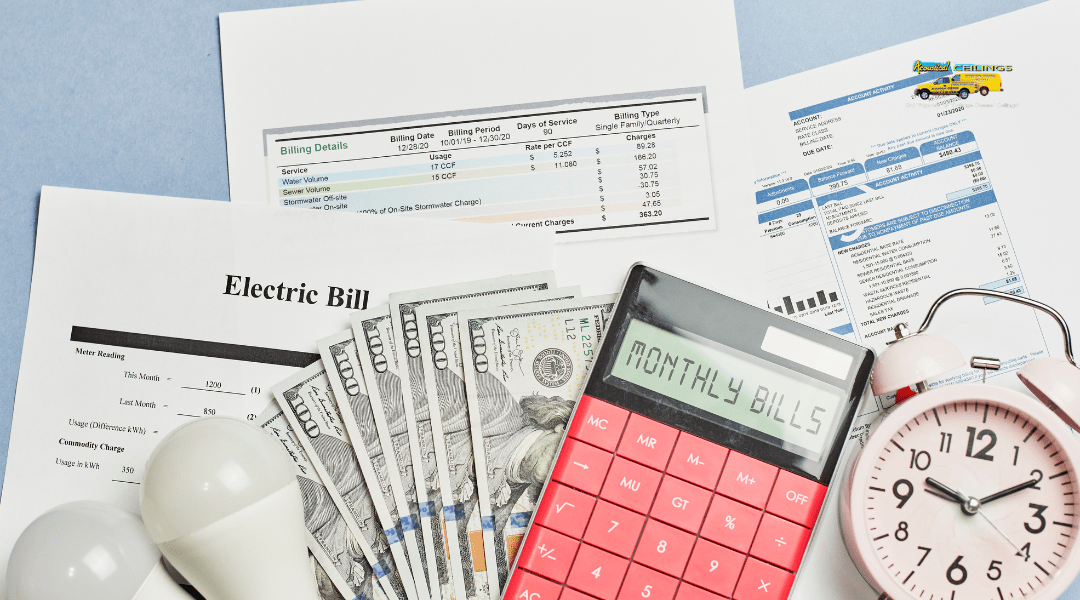
While the initial cost of energy-efficient recessed lighting may be higher than traditional options, the long-term savings can be substantial. You can expect a reduction in your electric bill due to lower energy consumption.
Calculations suggest that switching to LED recessed lights can save you approximately $100-$200 over their lifespan. Furthermore, since you won’t need to replace bulbs as often, you save money on replacements and maintenance costs. These factors contribute to a more valuable home in the long run.
Eco-Friendly Lighting for a Greener Home
By choosing energy-efficient recessed lighting, you contribute to a healthier environment. These lights produce fewer greenhouse gases compared to traditional lighting options, helping to reduce your home’s overall carbon footprint.
Additionally, many energy-efficient products are recyclable, which aligns with sustainable practices. When you select these fixtures, you support energy conservation and promote a greener future for your community. Opting for energy-efficient lighting is an investment in both your home and the planet.
Understanding Recessed Lighting Basics
Recessed lighting is a popular choice for modern homes due to its sleek look and versatile functionality. Knowing the basic components and uses of recessed can lights will help you make informed decisions about your lighting needs.
What Are Recessed Can Lights?
Recessed can lights, often called downlights, are fixtures installed into the ceiling, creating a clean and seamless look. They provide ambient, task, or accent lighting, depending on the type of bulb used and the placement in a room.
These lights are housed in cans that fit above the ceiling line. This installation allows you to have unobtrusive lighting that doesn’t take up space. When properly installed, they can significantly enhance the overall aesthetic of any room.
Key Components: Housings, Trims, and Bulbs
Understanding the key components of recessed lights is essential for your installation.
- Housing: This is the part of the fixture that holds the bulb and attaches to the ceiling structure. You’ll find various types, including new construction, remodel, and airtight housings.
- Trims: Trims give the light its finished look. Different trims can alter the light’s direction and style. Options include baffle trims, reflector trims, and adjustable trims.
- Bulbs: The type of bulb will influence brightness and energy efficiency. LEDs are popular for their longevity and low energy usage compared to incandescent or halogen bulbs.
Choosing the right combination of these components will ensure maximum efficiency and aesthetic appeal.
Popular Uses in Residential Interiors
Recessed lights are versatile and can be used in various residential settings.
- Living Rooms: They can provide general lighting or highlight artwork and architectural features.
- Kitchens: Use them for task lighting over countertops and islands.
- Bathrooms: Recessed lighting can create a soothing atmosphere while providing functional light for grooming tasks.
- Hallways and Closets: They help brighten narrow or small spaces without occupying too much visual real estate.
Using recessed lights effectively will enhance your home’s appearance and functionality while consuming less energy.
Choosing the Right LED Recessed Lighting
Selecting the right LED recessed lighting involves understanding the types of housings, choosing the best bulbs, and considering how trim and color temperature affect your space. These factors will help you create an efficient and inviting environment in your home.
IC-Rated vs Non-IC Housings
When installing recessed lighting, the choice between IC-rated and non-IC housings is crucial. IC-rated housings are designed for use in insulated ceilings and can come into direct contact with insulation materials. This is important to prevent overheating and potential fire hazards.
In contrast, non-IC housings are used in ceilings without insulation, where air can circulate freely. Using non-IC in insulated areas could risk fire, so always check your ceiling type. Moreover, energy-efficient LED lights work well in both types by providing lower wattage usage while producing ample brightness.
Best LED Bulbs for Recessed Fixtures
Selecting the best LED bulbs can significantly impact energy efficiency and light quality. Aim for bulbs that offer 600-800 lumens for general room lighting and 300-400 lumens for accent lighting.
Look for bulbs with a wattage of 10-15 watts, as they can provide brightness comparable to traditional 60-watt incandescent bulbs. Opt for Energy Star certified LED bulbs that not only ensure longevity but also save on energy costs.
Consider dimmable options to adjust brightness levels, enhancing versatility in your lighting design.
Selecting the Right Trim for Your Ceiling Type
Choosing the right trim is essential for achieving the desired look and function of your recessed lighting. Different trims serve various purposes, such as adjustable, baffle, or reflectors.
Adjustable trims allow you to direct light where you need it, perfect for artwork or architectural features. Baffle trims help reduce glare and are often used in living areas. Reflector trims can enhance brightness, making them suitable for kitchens and workspaces.
Match the trim style with the ceiling type, whether it’s flat, sloped, or vaulted. This ensures a cohesive look while maximizing light output.
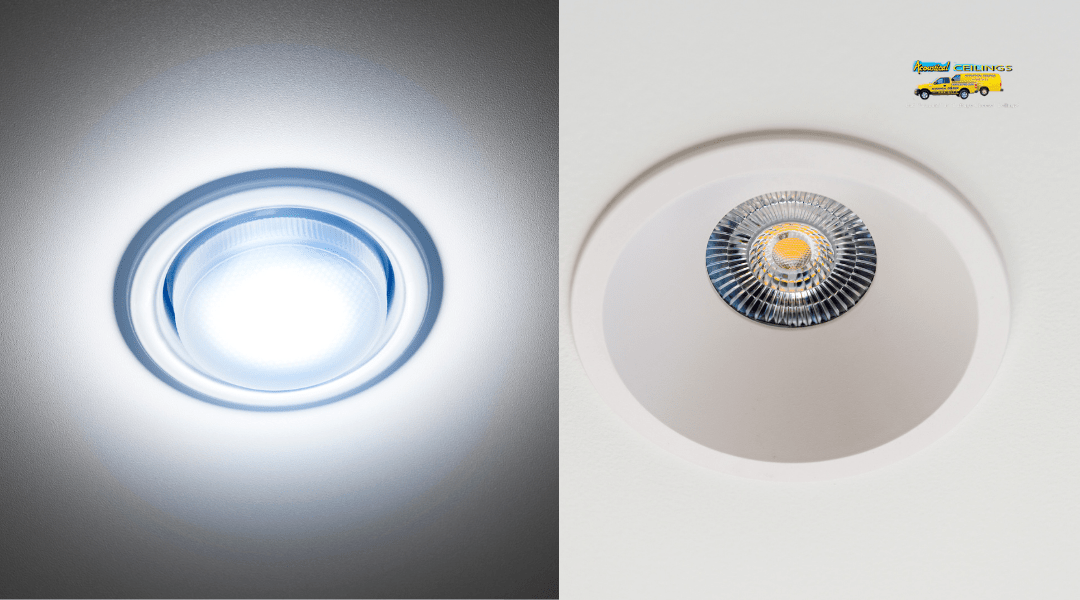
Matching Color Temperature with Room Mood
Color temperature can dramatically influence the mood of a room. Measured in Kelvin (K), it ranges from warm (2700K-3000K) to cool (4000K-5000K).
For cozy living spaces, go with warm white LED lights, creating a relaxing atmosphere. In contrast, cooler temperatures are ideal for task-oriented areas like kitchens or home offices, providing clarity and focus.
Consider using a combination of color temperatures in different areas to adapt the mood, enhancing the overall functionality of your home’s lighting scheme.
Preparing for Installation
Before you start installing recessed can lighting, it’s important to gather the right tools and materials, assess your ceiling type, understand local electrical codes, and follow safety precautions. Taking these steps ensures a smooth and efficient installation process.
Tools and Materials Checklist
You’ll need several specific tools and materials for this project. Here’s a comprehensive checklist:
- Tools:
- Drill
- Wire cutter/stripper
- Screwdriver
- Voltage tester
- Measuring tape
- Materials:
- Recessed lighting fixtures
- Electrical wiring
- Junction boxes
- Ceiling clips (if required)
Having these tools ready will make your installation process more efficient. Ensure you have enough wiring to connect each fixture. A voltage tester is critical to check for live wires before you begin any electrical work.
Assessing Ceiling Type: Drywall or Acoustical
Your ceiling type impacts how you install recessed lighting. If you have a drywall ceiling, you can directly attach the fixtures to it using mounting clips. Most fixtures are designed for easy installation in this material.
On the other hand, if your ceiling is acoustical, you must handle the installation differently. These ceilings usually involve tiles that might require special fixtures or additional support. Before starting, inspect and assess your ceiling carefully.
Understanding Local Electrical Codes in California
California has specific electrical codes that must be adhered to for safety and compliance. Before you install recessed lighting, familiarize yourself with these regulations.
You should ensure that your fixtures are rated for the proper wattage and energy efficiency. Check local building codes for requirements regarding wiring and connections.
If you feel uncertain about any regulations, consider consulting a professional electrician. Staying compliant will help avoid fines and improve safety in your home.
Safety Precautions Before You Begin
Safety should always be your first priority when working with electricity. Here are key precautions to keep in mind:
- Turn Off Power: Always turn off the circuit breaker that supplies power to the area you are working in. Use a voltage tester to confirm there are no active wires.
- Wear Safety Gear: Equip yourself with safety glasses and gloves to protect against debris.
- Work in a Clean Area: Make sure your workspace is clear of obstacles. This will help you move safely and keep tools organized.
Following these safety measures minimizes the risk of accidents and injuries. Proper preparation leads to a successful installation experience.
Installation Guide for Energy-Efficient Recessed Can Lights
Installing energy-efficient recessed can lights can transform the look of your home while saving on energy costs. Follow these detailed steps to ensure a successful installation process, from planning to testing your new lights.
Step 1: Mark Your Layout on the Ceiling
Begin by planning where you want the recessed lights. Use a pencil to mark the layout, ensuring that the lights are evenly spaced. A common rule is to position the lights about 4-6 feet apart for optimal illumination.
Consider the room’s purpose; areas requiring more light might need lights closer together. Use a template, if available, to outline the circles where each can light will go. Make sure to avoid any joists or plumbing that could interfere with installation.
Step 2: Cut Openings and Run Electrical Wiring
Once your layout is marked, it’s time to cut the openings. Use a drywall saw to carefully cut along your marked circles. Ensure that the holes are the correct size for your chosen fixtures.
Next, run the electrical wiring from the junction box to each light location. Use wire connectors to attach the new wiring to existing circuit wires. Always turn off power at the breaker before starting this step to ensure safety.
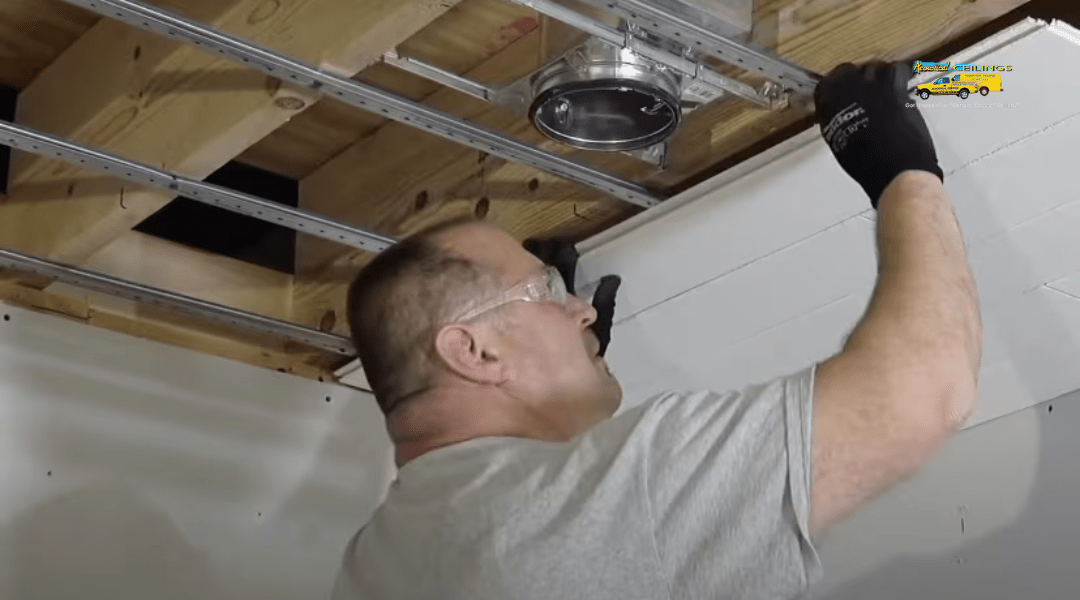
Step 3: Install IC-Rated LED-Compatible Housings
Choose IC-rated housings for energy efficiency, especially in insulated ceilings. These housings are designed for direct contact with insulation and help prevent heat buildup.
Position the housing into the ceiling cutouts and use the provided clips to secure them to the drywall. Make sure the housings are level and flush with the ceiling for a clean look. Follow the manufacturer’s instructions closely during this step.
Step 4: Connect Wiring and Secure Fixtures
Once the housings are in place, connect the wiring. Strip the ends of the wires and use wire connectors to join them together—black to black, white to white, and ground wires to the grounding screws in the housing.
After securing the wiring, push the connections into the housing. Then, carefully insert the can light fixture into the housing, ensuring that it locks into position. Double-check that everything is secure before moving on.
Step 5: Add Trims and Test Your Lighting
With the fixtures securely in place, add the light trims to complete the installation. Choose trims that match your home’s style and the brightness level you desire.
Finally, turn the power back on at the breaker. Test each lighting fixture to ensure they are functioning properly. Adjust the trims as needed to achieve the desired look and brightness throughout the room.
Installing in Acoustical Ceilings: Key Considerations
When installing recessed lighting in acoustical ceilings, it’s essential to choose the right fixtures, reinforce grid panels adequately, and avoid common installation mistakes. These factors ensure that your lighting is safe, effective, and energy-efficient.
Compatible Fixtures for Suspended Ceilings
When selecting fixtures for a suspended ceiling, you need to choose lights designed for this type of installation. Look for IC-rated (insulation contact) fixtures that are safe to use in close proximity to insulation materials. Non-IC-rated fixtures can pose fire hazards if installed in contact with insulation.
Choose fixtures that fit into the grid structure without weighing it down too much. Many fixtures come with adjustable mounting hardware, which makes them easier to install while maintaining the integrity of the ceiling. Consider LED options for energy efficiency and longer lifespan, reducing future replacements.
Reinforcing Grid Panels for Lighting Weight
Reinforcing the grid panels is a crucial step when installing recessed lighting. The weight of the fixtures can damage the suspended ceiling if not properly supported. Before installation, check the grid’s load-bearing capacity.
Add cross-bracing or use additional support channels to distribute the load. You can also install a plywood backing above the ceiling tiles for extra strength. Make sure the adjustments do not affect the ceiling’s aesthetics or functionality.
Avoiding Common Mistakes During Drop Ceiling Installs
Several mistakes can occur during the installation of recessed lights in drop ceilings. One common error is miscalculating the placement of the fixtures, leading to uneven lighting. Ensure you measure the room and plan the layout before making cuts.
Another mistake is not following electrical code requirements. Always check local codes for wiring methods and fixture placement. Remember to use the correct gauge wire and secure all connections properly to avoid future issues.
Lastly, don’t forget to check the ceiling tiles for compatibility with your fixtures. Some tiles may need to be replaced to accommodate your new lighting setup. Taking these precautions will help you achieve a well-lit and attractive space.
Working with a Drywall Contractor in Rancho Cucamonga
When planning to install recessed can lighting, working with a drywall contractor can make the process smoother. Understanding when to hire a professional and what to expect during the installation can help you achieve the best results.
When to DIY vs When to Hire a Pro
Consider a DIY project if you have experience with basic electrical work and drywall installation. If you’re comfortable using tools and following instructions, installing recessed lighting might be manageable.
However, if your project involves complex wiring or modifications to existing structures, hiring a professional is wise. A drywall contractor can navigate building codes and ensure safety. Think about your time and the quality of work you want.
Ultimately, if you want a flawless finish with less hassle, getting a professional is a better choice.
What to Expect During a Professional Install
When you hire a drywall contractor, expect a thorough assessment of your space first. They’ll evaluate the ceiling for structural integrity and determine the best placement for your recessed lights.
The contractor will then help you choose energy-efficient fixtures that match your home’s style. During installation, they will make precise cuts in the drywall, ensuring a clean look.
You should also expect to see the area prepared for the electrical work. This might involve removing old fixtures or adjusting ceilings. The process may take a few hours to a day, depending on the complexity.
Local Expertise for Complex Ceiling Projects
Working with a contractor in Rancho Cucamonga offers advantages due to their local expertise. They understand specific building codes and regulations in your area.
Having local knowledge helps avoid common pitfalls related to ceiling types or installation techniques. If your home has unique architectural features, a seasoned contractor can adapt accordingly.
Additionally, they are familiar with local suppliers for quality materials. This ensures you get the best products for your recessed lighting. Their expertise can save you time and potential issues down the line.
Expert Tips for Maximizing Energy Savings
To get the most from your recessed can lighting, focus on effective strategies. Energy-efficient fixtures, smart placements, and advanced controls can all contribute to notable savings. Here are practical tips to help you maximize energy efficiency.
Use Dimmers with LED-Compatible Fixtures
Incorporating dimmers is a smart way to control the amount of light in a room. When using LED lights, ensure your dimmers are compatible. This allows you to adjust brightness based on need, reducing energy consumption.
- Benefits: Dimmers can extend the life of your bulbs and create atmosphere.
- Tip: Look for dimmers labeled as “LED compatible” to prevent flickering.
Regularly adjust dimmer settings according to natural light availability. During the day, keep settings low to save energy.
Positioning Lights for Optimal Coverage
Proper placement of recessed lights enhances efficiency and comfort. Follow these guidelines to achieve functional lighting:
- Ceiling Height: Space lights about half the height of the ceiling. For an 8-foot ceiling, place lights 4 feet apart.
- Avoid Obstructions: Keep lights away from beams or other fixtures to prevent shadows.
This arrangement ensures that light is evenly distributed. It also minimizes the number of fixtures needed, further cutting down energy usage.
Combining Recessed Lighting with Smart Controls
Smart home technology can elevate your recessed lighting system. Smart controls allow you to manage lights remotely or set schedules.
- Features: With apps, you can turn off lights from anywhere, reducing energy waste.
- Integration: Pair with motion sensors that automatically turn off lights when no one is in the room.
Consider systems that are compatible with your existing setup. This can make your home not only more efficient but also more convenient to live in.
Key Statistics on LED Lighting Efficiency
LED lighting is known for its energy efficiency and cost savings. Understanding specific statistics about LED performance can help you make informed decisions for your home.
Energy Reduction Compared to Incandescent Bulbs
LED bulbs can reduce energy usage by up to 80% when compared to traditional incandescent bulbs. Incandescent bulbs convert only about 10% of their energy into light, while the rest is wasted as heat. In contrast, LEDs emit very little heat and use most of their power for illumination.
For example, a standard 60-watt incandescent bulb produces about 800 lumens of light. You can replace it with a 10-watt LED bulb that provides the same brightness. This means that, if you switch to LED, you could save approximately $50 to $100 over the lifespan of each bulb, based on average electricity costs.
Average Payback Period for Homeowners
Switching to LED lighting can lead to significant savings on your electricity bills. The average payback period for homeowners investing in LED fixtures is about 1 to 2 years.
Consider that if your monthly lighting expenses decrease by $10 due to using LEDs, the return on your investment becomes clear. Many LED products last 15,000 to 25,000 hours, far exceeding the typical 1,000 hours of incandescent bulbs. This extended lifespan means fewer replacements and further savings over time, making the initial cost worthwhile.
National and California-Specific Energy Standards
Both national and California energy standards encourage the use of energy-efficient lighting. The Energy Star program provides certifications to LEDs that meet strict efficiency guidelines.
In California, Title 24 energy standards mandate specific efficiency requirements for new buildings and renovations. These regulations help homeowners save on energy costs and reduce environmental impact. Installing Energy Star certified LED fixtures not only ensures compliance but also maximizes efficiency and savings in your home.
By following these standards, you contribute to a larger movement toward sustainable living, benefiting both your wallet and the environment.
Real-Life Examples and Project Inspiration
Incorporating energy-efficient recessed can lighting into your home can be both functional and stylish. Here are some inspiring examples and practical uses for these lighting solutions.
Modern Living Room with Dimmable LED Recessed Lights
Imagine transforming your living room with dimmable LED recessed lights. These fixtures allow you to adjust the brightness to match your mood. For a sleek look, install them in rows or clusters.
Consider placing them strategically above seating areas to create focus. You might want to add accent lighting by installing recessed lights near artwork or bookshelves. This showcases your decor while providing an inviting atmosphere.
When planning your design, remember to ensure proper spacing, typically two to three feet apart, for even light distribution. This setup not only enhances the room’s aesthetics but can also lower energy costs with LED options that use less power.
Kitchen Lighting Transformation Using Low-Watt Fixtures
Kitchens benefit greatly from effective lighting. Switching to low-watt recessed fixtures can make cooking and entertaining more enjoyable. Install fixtures over countertops to facilitate food preparation and cooking tasks.
Add cabinet lighting underneath cabinets for added brightness where needed. This combination helps create a layered lighting effect, improving visibility. It’s practical and stylish.
Consider using smart dimmers that allow you to control the intensity. This feature is great when hosting guests, setting a cozy atmosphere, or illuminating meal prep times. By using low-watt fixtures, you maximize efficiency while keeping your kitchen well-lit.
Basement Ceiling Upgrade with Acoustic Integration
If you’re looking to upgrade your basement, consider integrating acoustic properties with recessed lighting. This is ideal for creating a home theater or game room.
Install fixtures that reduce sound transmission, ensuring a comfortable space. Use energy-efficient recessed lights that provide ample brightness without overwhelming the room.
Additionally, you can combine these lights with acoustic panels on the ceiling. This addresses noise issues while enhancing the overall look. This setup offers an inviting and functional space for entertainment or relaxation, proving that practicality and aesthetics can go hand in hand.
Final Thoughts
Installing energy-efficient recessed can lighting is a smart choice for your home. It helps save electricity and lowers your utility bills.
Before you start, make sure to gather the right tools and materials. You’ll need:
- Recessed light fixtures
- Junction box
- Wiring tools
- A power source
Ensure the area has a clear plan for placement. This makes the process smoother and more efficient.
Remember to turn off the power before beginning. This step is crucial for your safety.
If you choose canless lights, they often require fewer materials and can be easier to install. These options can also enhance the look of your space.
Consider consulting a professional if you’re unsure. A drywall contractor in Rancho Cucamonga, California, can provide helpful guidance and expertise.
With proper planning and execution, you’ll enjoy bright, efficient lighting that complements your home. This investment in lighting will not only improve appearance but also enhance energy savings.