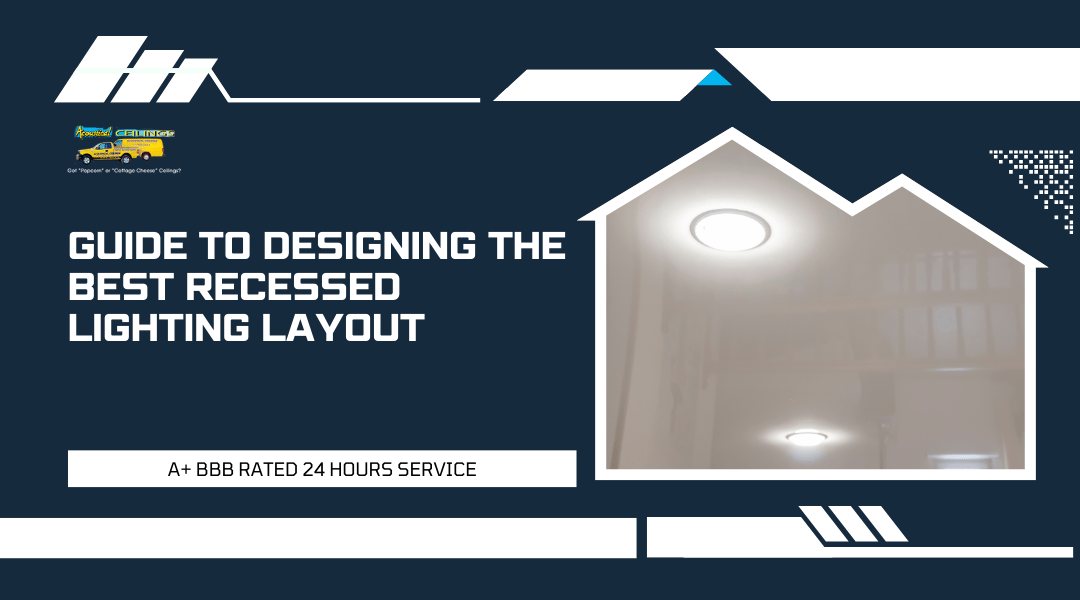
Recessed can lighting is a popular choice for enhancing the beauty and functionality of your space. This lighting style not only provides excellent illumination but also helps to create a sleek and modern look in any room. Homeowners and business owners in Rancho Cucamonga are increasingly turning to recessed lighting as a way to improve aesthetic appeal while ensuring practical light distribution.
At Acoustical Ceilings, we understand the intricacies involved in recessed can lighting installation. With our expertise, you can achieve the perfect balance of style and efficiency. From selecting the right fixtures to ensuring proper placement, we guide you through every step of the process, making it as straightforward as possible.
Whether you’re updating an existing space or designing a new one, recessed can lighting can elevate your environment significantly. By choosing a knowledgeable partner like Acoustical Ceilings, you ensure that your vision comes to life with precision and skill. Let us help you transform your interiors with the perfect lighting solutions tailored to your needs.
What Is Recessed Can Lighting?
Recessed can lighting is a popular choice for modern spaces. These fixtures provide a sleek look while being highly functional. Understanding how they work and the benefits they offer can help you decide if they are right for your project.
How It Works and Where It’s Used
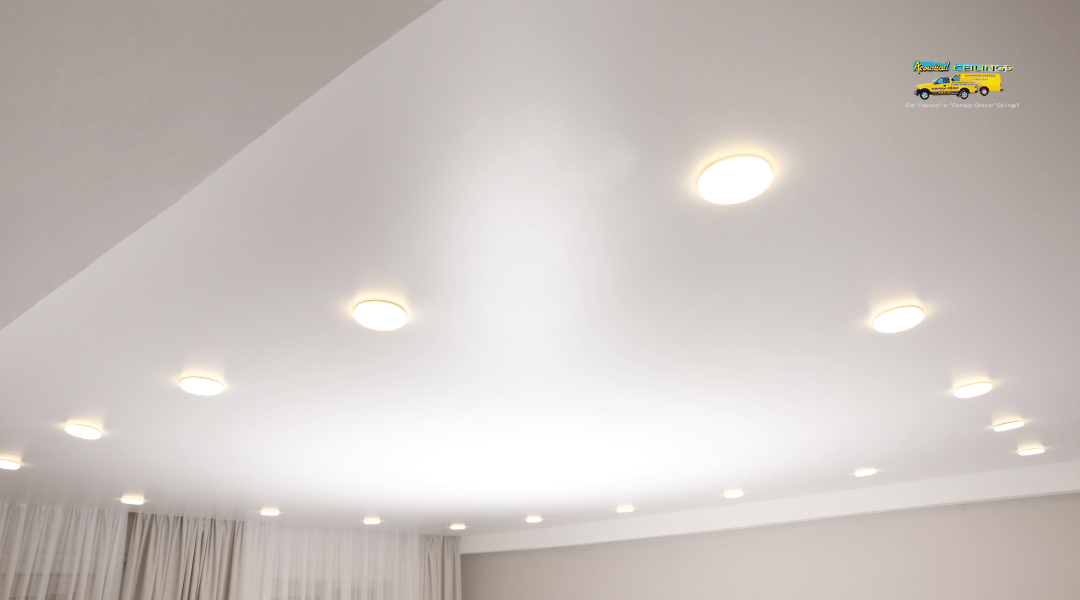
Recessed can lighting, also known as can lights or downlights, is installed into the ceiling. This fixture consists of a housing that is placed inside a hollow opening. Light is directed downward, creating an even glow in the room.
These lights are commonly used in living rooms, kitchens, and commercial spaces. They blend seamlessly with the ceiling, making them ideal for low-profile design. With the right placement, recessed lights can highlight specific areas, such as artwork or architectural features.
To install these fixtures, proper measurements and electrical connections are essential. Make sure to consider the height of your ceilings and the size of the room to optimize lighting.
Benefits Over Traditional Lighting Fixtures
Recessed can lighting offers several advantages compared to traditional fixtures. First, their minimalist design saves space and fits unobtrusively into your decor.
Here are some key benefits:
- Versatility: Suitable for various settings, from residential to commercial.
- Adjustable Lighting: You can choose different bulb types and adjust brightness levels.
- Reduced Glare: Positioned in the ceiling, these lights minimize brightness in your eyes, leading to comfortable illumination.
Additionally, recessed lighting can enhance the style of a room. It allows for a clean and modern aesthetic, making spaces feel open and spacious.
Choosing the Right Recessed Can Lights for Your Space
Selecting the right recessed can lights is essential for enhancing the look and functionality of your rooms. Different types of fixtures, trim styles, and bulb options can change both the ambiance and efficiency of your lighting. Understanding these elements will help you make informed choices.
Types of Recessed Lights
When it comes to recessed lights, you have a few main types to consider. New construction cans are ideal for new builds or major renovations and allow for easy installation. Retrofit cans are perfect for existing ceilings. They fit easily into existing holes, minimizing the need for additional work.
Adjustable recessed lights, also known as gimbal lights, let you direct the light where you need it. This is useful for highlighting artwork or architectural details. Finally, consider trimless options for a sleek, modern look. They blend seamlessly into the ceiling, creating an elegant finish.
Matching Trim Styles to Room Aesthetics
Trim styles play a significant role in how recessed lights look in your space. Decorative trims can add flair and texture, making them suitable for stylish areas like dining rooms. Baffle trims reduce glare and are great for living areas. For a clean look, consider reflector trims that enhance brightness and widen the light spread.
Make sure the trim color complements your ceiling. White trims often provide a contemporary feel, while bronze or black trims add a touch of warmth. Different styles and finishes can influence the room’s overall look.
LED vs Halogen: Which Bulb Is Best?
Choosing between LED and halogen bulbs can impact your energy costs and lighting quality. LED bulbs last significantly longer and consume less energy. They are available in various brightness levels and color temperatures, making them versatile for different settings.
Halogen bulbs offer brighter light and better color rendering. However, they consume more energy and have a shorter lifespan. If you prefer lower electricity bills and longer-lasting bulbs, LED is the better option. Consider your space and usage when deciding which is right for you.
Best Lighting Layouts for Different Rooms
The layout of your recessed lighting affects the ambiance and functionality of each room. For kitchens, position your lights above work areas and islands to ensure visibility. Use multiple fixtures spaced evenly for balanced lighting.
In living rooms, create a layered effect by combining recessed lights with other fixtures like floor lamps. Place lights to highlight key features, such as a fireplace or artwork.
For bedrooms, consider softer lighting for relaxation. Place recessed lights around the perimeter or above nightstands for a cozy feel. Lastly, in bathrooms, ensure adequate light around mirrors and sinks. This layout prevents shadows and enhances usability.
Planning Your Installation
Proper planning is essential for a successful recessed can lighting installation. You need to consider various factors such as ceiling type, height, electrical requirements, and the necessary tools and materials for your project.
Understanding Ceiling Type — Drywall vs Acoustical Ceilings
You must first identify your ceiling type. Drywall ceilings are common and typically easier to work with. They allow for straightforward installation with standard fixtures. On the other hand, acoustical ceilings have tiles and may require special fixtures to ensure a secure fit.
When using recessed lighting in acoustical ceilings, look for fixtures designed specifically for this type, as traditional options may not hold properly or may disrupt the ceiling’s sound-absorbing qualities. Check the manufacturer’s instructions for compatibility with your ceiling type.
How Ceiling Height Affects Placement
Ceiling height is important when determining fixture placement. For ceilings that are 8 to 10 feet high, you can install lights about 6 to 8 feet apart. In contrast, if your ceiling is higher than 10 feet, consider placing fixtures 8 to 10 feet apart to ensure adequate light coverage.
Be cautious about how high you place the fixtures. If they are too low, they may create shadows; if too high, the light may not effectively illuminate the space. Use a calculator or measuring tool to mark the optimal positions before installation.
Electrical Requirements and Building Codes
Before starting your project, familiarize yourself with local electrical codes. These regulations ensure safety and compliance during your installation.
You may need a licensed electrician to connect your recessed lighting. Check if your circuit can handle the additional load of the new fixtures. You must also ensure proper grounding and that all wiring adheres to code. Always turn off the power before working on any electrical components.
Tools and Materials You’ll Need
Having the right tools and materials is crucial for a smooth installation. Here’s a quick list to guide you:
- Tools:
- Drill
- Stud finder
- Wire stripper
- Screwdriver
- Level
- Materials:
- Recessed can lights
- Electrical wire
- Junction boxes
- Ceiling tiles (for acoustical ceilings)
- Insulation (where needed)
Make sure to gather these items ahead of time. This preparation can prevent delays during your installation process and help ensure your ceiling project runs efficiently.
Recessed Lighting and Acoustical Ceilings

When installing recessed lighting in areas with acoustical ceilings, there are essential factors to consider, such as compatibility and potential damage to sound-absorbing materials. Understanding how to integrate these fixtures seamlessly will enhance both functionality and design.
Compatibility and Structural Considerations
Recessed lighting fixtures work well with acoustical ceilings when properly matched in size and type. Ensure the fixtures you choose fit the aperture sizes in your ceiling tiles, typically 3, 4, or 6 inches wide.
Consider the following compatibility aspects:
- Weight: Ensure that your ceiling can support the weight of the fixtures.
- Clearance: Avoid crowding light fixtures; proper spacing enhances light distribution.
- Wiring: Adequate space for electrical wiring is crucial to avoid modifications that may damage the acoustic performance.
Avoiding Damage to Sound Panels or Grid Systems
Preventing damage to sound panels or grid systems is vital during installation. You want to maintain the effectiveness of your acoustical ceiling while integrating lighting.
Follow these tips to avoid issues:
- Use a Template: Before making any cuts, use a template to plan your placement.
- Gentle Handling: Handle sound panels carefully to avoid cracking or breaking.
- Reinforcements: If necessary, use extra supports to protect the grid system during installation.
Seamless Integration with Suspended Ceilings
Integrating recessed lighting with suspended ceilings can yield a sleek and modern look. Focus on creating a continuous design that doesn’t interrupt acoustic panel alignment.
Key steps for seamless integration include:
- Align Fixtures: Position lights in a way that aligns with the existing grid pattern.
- Color Matching: Choose fixtures that blend with the ceiling tiles for a cohesive look.
- Consider Dimming: Installing dimmer switches can provide flexibility in enhancing ambiance while maintaining acoustic quality.
Utilizing these methods ensures your recessed lighting enhances both aesthetics and acoustical performance in your space.
Step-by-Step Installation Process
Installing recessed can lighting requires careful planning and execution. Follow these detailed steps to ensure that your installation is safe, efficient, and looks great.
Marking Layout and Cutting Holes
Begin by planning where you want to place your recessed lights. Use a tape measure to determine equal spacing between fixtures. Mark these spots on the ceiling with a pencil.
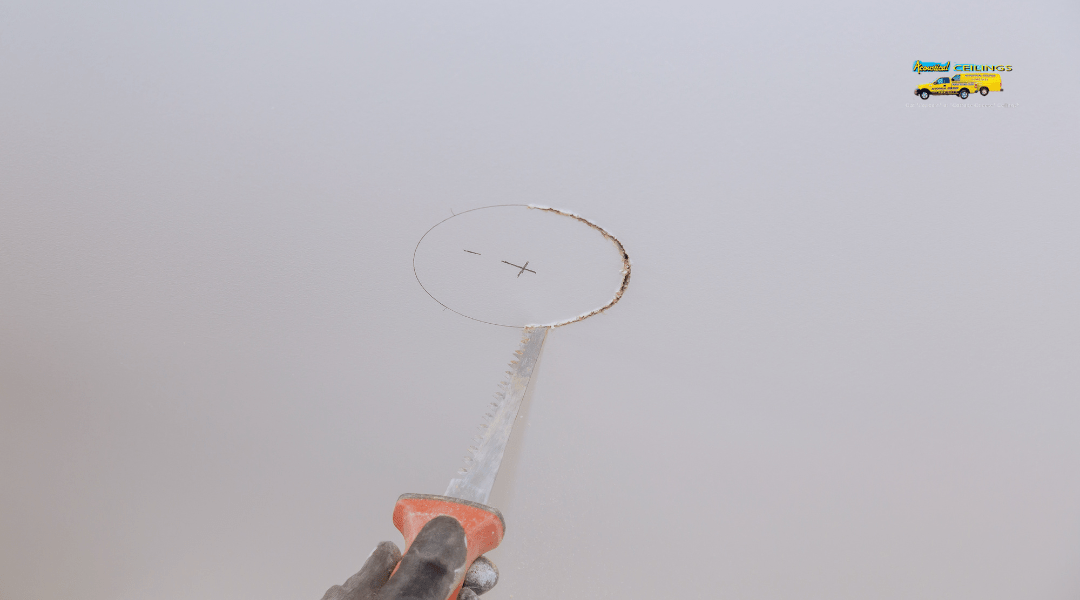
Next, check for any obstructions, such as beams or ductwork, in your marked areas. Use a stud finder to ensure the area is clear. Once confirmed, use a hole saw to cut openings. The size of the holes should match the diameter of the can lights you will install, typically 4 inches or 6 inches.
Ensure you wear safety goggles and a dust mask while cutting. Clean up the dust and debris from your work area to maintain safety.
Wiring and Power Safety Tips
Before starting any electrical work, turn off the power at the circuit breaker. Use a voltage tester on the existing fixtures to confirm the power is off.
For wiring, you will need an appropriate gauge wire, usually 12 or 14 gauge, based on your local building codes. Strip the wires at both ends—about ¾ inch. If you are replacing existing fixtures, connect the black (hot) wire from the fixture to the black house wire, and the white (neutral) wire to the white house wire.
Secure these connections with wire nuts and wrap them with electrical tape. Make sure your connections are tight and avoid loose wires, which can cause short circuits.
Mounting the Can Housing
Place the can housing into the openings you cut earlier. Adjust it to ensure it sits level with the ceiling. Most can lights have spring clips or brackets that secure the housing in place.
Follow the manufacturer’s instructions for mounting. Some fixtures may require you to attach the housing directly to the ceiling joists for added stability. Use a level to double-check that the housing is properly positioned before securing it.
Once confirmed, connect the housing to the power supply according to the wiring setup you established earlier. Ensure that the housing is securely held in place and that no gaps are visible around the edges.
Installing Trim and Bulbs
After the housing is secure, attach the trim to the can light. The trim clips should snap into place easily. Make sure the trim is flush with the ceiling for a clean look.
Next, install the light bulbs into the fixture. Always use bulbs that are compatible with your recessed light’s specifications. If your lights use LED bulbs, check the wattage limit to prevent damage.
Finally, turn the power back on at the circuit breaker. Test the lights to ensure they are functioning properly. Make any necessary adjustments to align and position the lights as desired.
Working with a Drywall Contractor in Rancho Cucamonga
When planning your recessed can lighting, collaborating with a drywall contractor is essential. Professional help ensures that installations are done correctly, efficiently, and safely. You will also gain insights into common pitfalls that arise during DIY projects, making your experience smoother.
Why Professional Help Matters
Hiring a drywall contractor in Rancho Cucamonga brings expertise to your project. These professionals are typically bonded and insured, which protects you from liability. They also have experience with local building codes, ensuring compliance in California.
With their knowledge, you can avoid mistakes that could lead to costly repairs. Professionals can assess your space and recommend the best lighting and installation techniques. Their skills help guarantee a finish that looks polished and meets your expectations.
Common Issues with DIY Installations
While DIY installations can seem cost-effective, they often lead to several issues. Common problems include improper mounting, insufficient support, and misalignment. These mistakes can result in uneven light distribution or even structural damage to your ceilings.
Additionally, handling drywall can be tricky if you’re inexperienced. Poor cuts and seams can result in noticeable flaws after installation. A professional contractor can prevent these issues through careful planning and execution, ensuring your recessed can lighting looks great.
What to Expect from a Local Installation Service
When you work with a local drywall contractor, you can expect a thorough consultation. They will assess your space, discuss your vision, and offer expert advice. You can also expect transparent pricing. Many contractors provide detailed estimates that include all aspects of the job.
During installation, professionals will handle all the heavy lifting and technical work. They know how to manage tools and materials safely. After the job is done, most contractors offer post-installation services, including a walk-through to address any questions. This guarantees your installation is satisfactory and meets local standards.
Expert Tips for Flawless Lighting Design
Creating the perfect lighting design requires careful planning and attention to detail. Focus on eliminating shadows and glares, layering your lighting for flexibility, and ensuring an aesthetic balance throughout your space. Here are some key tips to achieve these goals effectively.
Avoiding Shadows and Glares
To eliminate unwanted shadows, position your recessed lights strategically. Aim to place them 1.5 to 3 feet away from the walls. This distance helps the light beam spread evenly, reducing harsh shadows.
Consider the beam angle of your fixtures as well. A narrower beam can create focused light, while wider beams wash an area with light.
Using multiple fixtures rather than relying on a single source of light can also distribute illumination more effectively.
Make sure to test your layout before final installation. This practice helps ensure your lighting meets your needs without any harsh glaring effects.
Layering Lighting with Dimmers and Accent Fixtures
Layering your lighting creates depth and enhances the functionality of your space. Start with ambient lighting from your recessed fixtures to provide overall illumination.
Next, add task lighting in areas where specific activities take place, like reading or cooking. Consider using pendant lights or under-cabinet lighting for tasks.
Dimmers are essential for adjusting the brightness according to the time of day or mood. They give you the flexibility to create a warm, inviting atmosphere or a bright space for work.
Accent fixtures can highlight artwork or architectural features, adding interest and character. This combination of light sources will help create a well-rounded lighting design.
Maintaining Aesthetic Balance
Aesthetic balance in your lighting design involves blending functionality with visual appeal. Choose fixtures that match the style of your space.
For a modern look, consider sleek, minimalist designs. For a more traditional space, opt for ornate fixtures that complement the overall decor.
Use a consistent color temperature across all fixtures. This uniformity helps create a cohesive look. Generally, a temperature between 2700K and 3000K is warm and inviting for indoor spaces.
Lastly, pay attention to the placement of your fixtures. Make sure they are symmetrically arranged to maintain visual balance, creating an inviting and harmonious environment.
Key Statistics on Recessed Lighting Trends
The recessed lighting market has seen significant growth in recent years. As of 2023, the global market size was valued at USD 33.08 billion.
Growth Projections
- It is expected to reach approximately USD 84.96 billion by 2032.
- This represents a notable CAGR of about 11% during the forecast period.
Popularity of LED Options
Many homeowners and businesses are shifting towards LED-based recessed lights.
- LED fixtures contribute to energy savings.
- They consume less power compared to traditional lighting solutions.
Design Preferences
Recessed lighting fits well into various design styles:
- Minimalist designs: They provide a clean look and save space.
- Versatility: Suitable for both residential and commercial spaces.
Installation Trends
- Many contractors prefer using feature-rich fixtures, which integrate well into ceilings.
- Newer designs support direct attachment to various ceiling types, making installation easier.
You can keep these trends in mind when planning your next lighting project. Understanding these statistics will help you make informed decisions for your space.
Real-World Examples and Before/After Projects
Many homeowners are transforming their spaces with recessed can lighting. It can create a sleek, modern look while providing excellent illumination.
Example 1: Living Room Remodel
A homeowner removed their popcorn ceiling, which opened up the space. After installation, the recessed lighting added brightness and a clean finish. You can see the dramatic difference in the overall ambiance.
Example 2: Kitchen Upgrade
In a kitchen remodel, recessed lights replaced outdated fixtures. These lights created even lighting across countertops. The before-and-after photos show a brighter and more inviting kitchen.
Example 3: Basement Transformation
A basement with low ceilings can feel cramped. After adding recessed lighting and removing the popcorn ceiling, the area felt larger. This change not only improved visibility but also made the space more functional.
Tips for Your Project:
- Plan Placement: Think about where light is most needed.
- Choose the Right Size: Larger spaces may require bigger fixtures to maintain balance.
- Consider Dimmers: These allow for flexibility in lighting levels, enhancing your comfort.
With careful planning, you can achieve the same impressive results in your home. Each project shows the power of recessed lighting in enhancing both functionality and design.
Final Thoughts
Choosing recessed can lighting can greatly enhance the look and feel of your space. This type of lighting is not only stylish but also functional.
When planning your installation, consider the following:
- Room Purpose: Different areas may require different brightness levels.
- Fixture Placement: Proper positioning can reduce shadows and create a balanced light.
- Dimmer Switches: These offer flexibility to adjust the light according to your needs.
Working with a professional, like Acoustical Ceilings, is beneficial. They have the expertise to ensure proper installation and design tailored to your space.
Before you begin, think about your design goals. Do you want to create a cozy atmosphere or highlight specific features? Proper planning will lead to better results.
Don’t forget to consider energy efficiency. Choosing LED can lights can reduce your energy bill while providing quality light. This also contributes to a more sustainable environment.
Recessed can lighting is a versatile option for many settings. With the right design and installation, you can create a welcoming and functional space that meets your needs.